This tutorial was created to assist you in your move from a regular resume to a tabular resume.* In total, switching formats for this resume this took about one hour - including completely retyping and reformatting everything. Keep in mind, this content was finished, the format was just changed. If you are starting from scratch, this will take longer.
Why Tables?
How long do you spend tabbing text over on your resume, getting it just right, only to add another character and mess the entire thing up? This format avoids all of that and makes it extremely easy to adjust space between positions and sections. Although this may seem like a lot of work, this format is highly customize-able and will save you time in the long run.
*Please note, a was used PC to craft the resume but a Mac was used to take screenshots and put on finishing touches. Although the menu appears slightly different on a PC, the controls should be titled the same.
Start off by opening a fresh word document and inserting a table with two columns and as many rows as you can. Copy the table and paste it underneath a couple of times. You will need tons of lines.
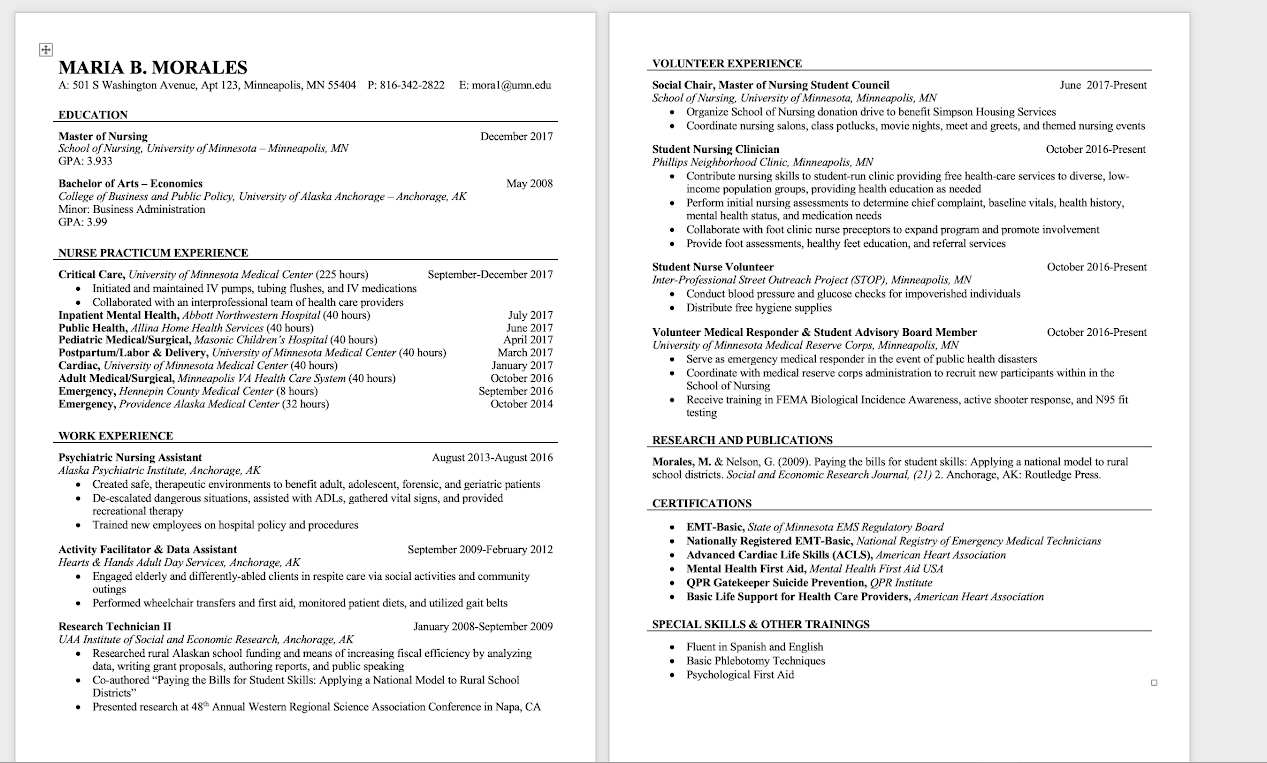
Begin entering your information. Think of each line on your resume as a row in the table. Some rows will be split into two columns (those with dates) and others can be merged into one column.
Merging cells
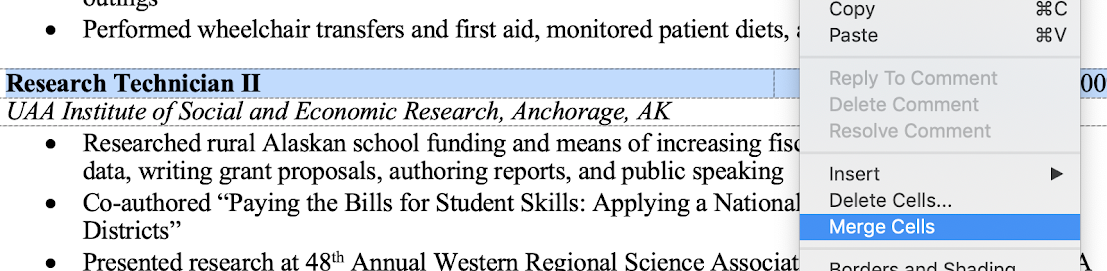
To merge the columns of one specific row, simply highlight the row you wish to change, right-click, and select merge cells on the window that opens.
Adjusting columns
The image above shows all information entered, columns merged where appropriate, font sized, bolded, and italicized where necessary. Additionally, you'll notice all of the dates are justified to the right and all of the other text is justified to the left.
In the table function, you are able to adjust just one column at a time in order to fit the line as needed. To do this, select the column so that it is highlighted in blue (see below) and slide the vertical line over.
You'll notice that the line fits appropriately on the resume to the right.

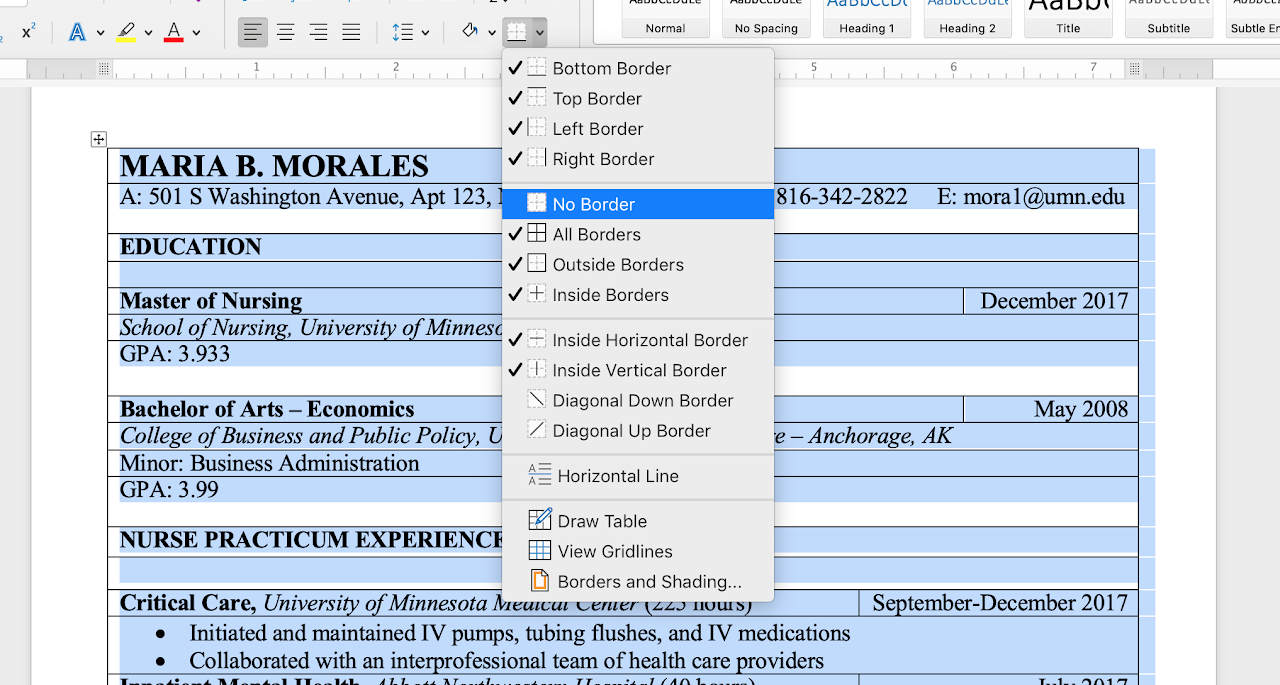
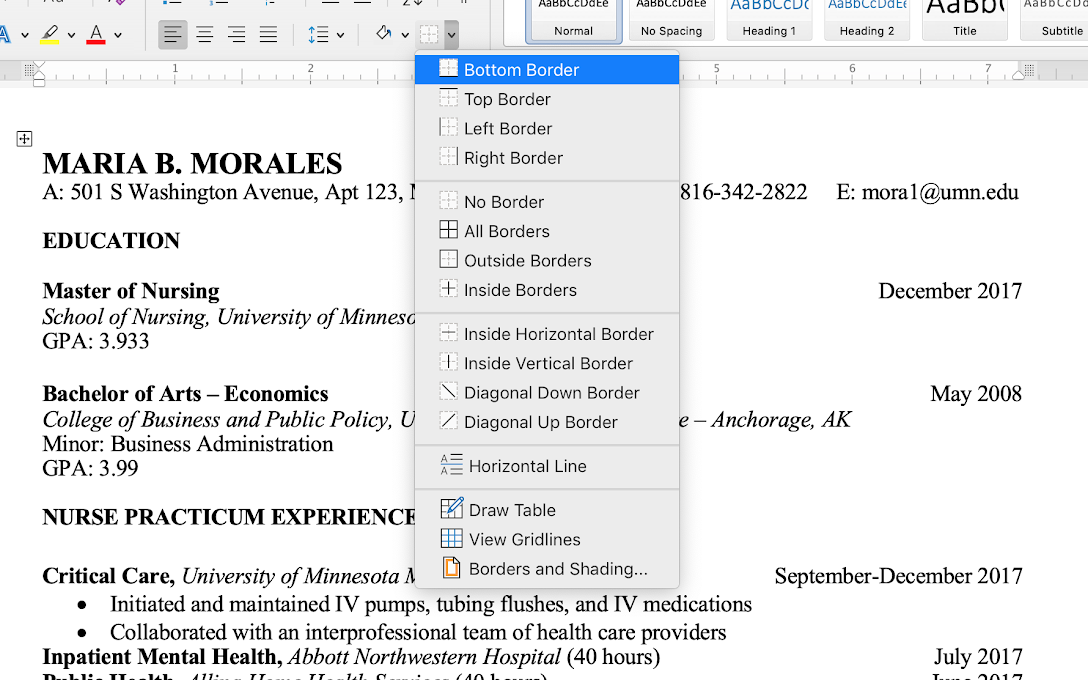
When you have all your text in place and you would like a view that is slightly closer to how the finished product will look, select the entire table (via the cross in the upper-left corner) select the border drop-down, and choose "No Border."
Section headings
If you would like to add a line under your section headings (not necessary, but can help headings stand out), put your cursor on that line. On the border drop-down menu, select "Bottom Border" (results below).
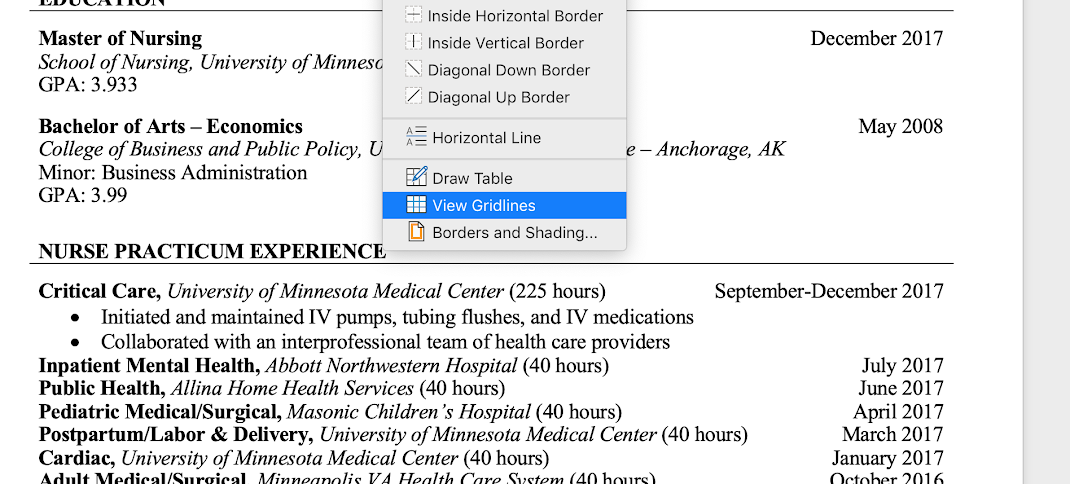
Visual aid
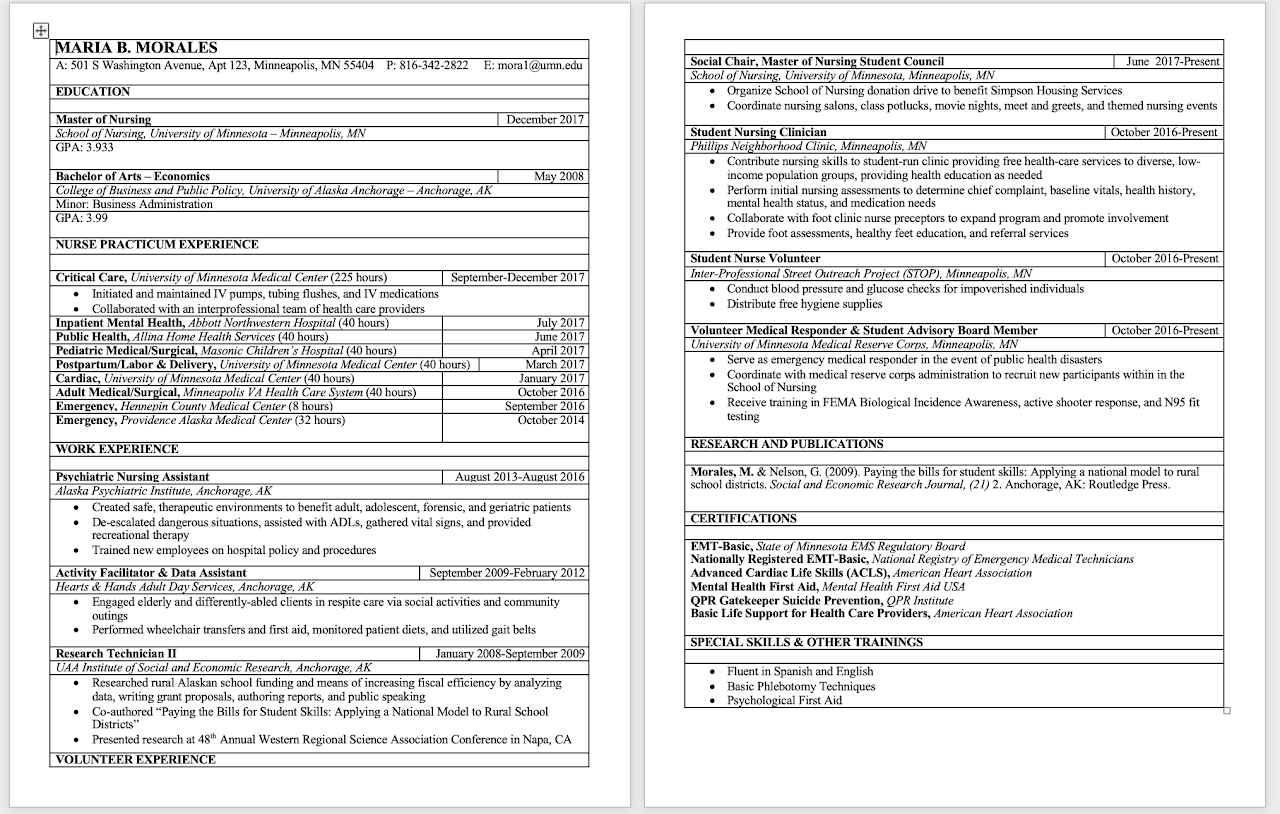
If you prefer a guide, repeat and select "View Gridlines" (see right).

Almost done
Here you have it. You will notice that all pieces of this resume fall in line with suggestions provided on this website, including:
-
Positions bolded
-
Dates formatted consistently (justified right, months, spacing)
-
Items in reverse chronological order within sections